Getting Started Guide
This guide will walk you through setting up your NEAR Treasury.
Before you begin
To create a Treasury, you'll need a NEAR wallet with at least 9 NEAR available to cover the data storage deposit for both Sputnik DAO and the frontend hosting.
Creating a new treasury
Visit neartreasury.com and click
Get Started.If you are not signed in, sign in with your NEAR Account using your preferred wallet.
- We recommend using Meteor Wallet.
- Ledger users can connect directly without a named NEAR account or alternatively use a third-party wallet with Ledger support.
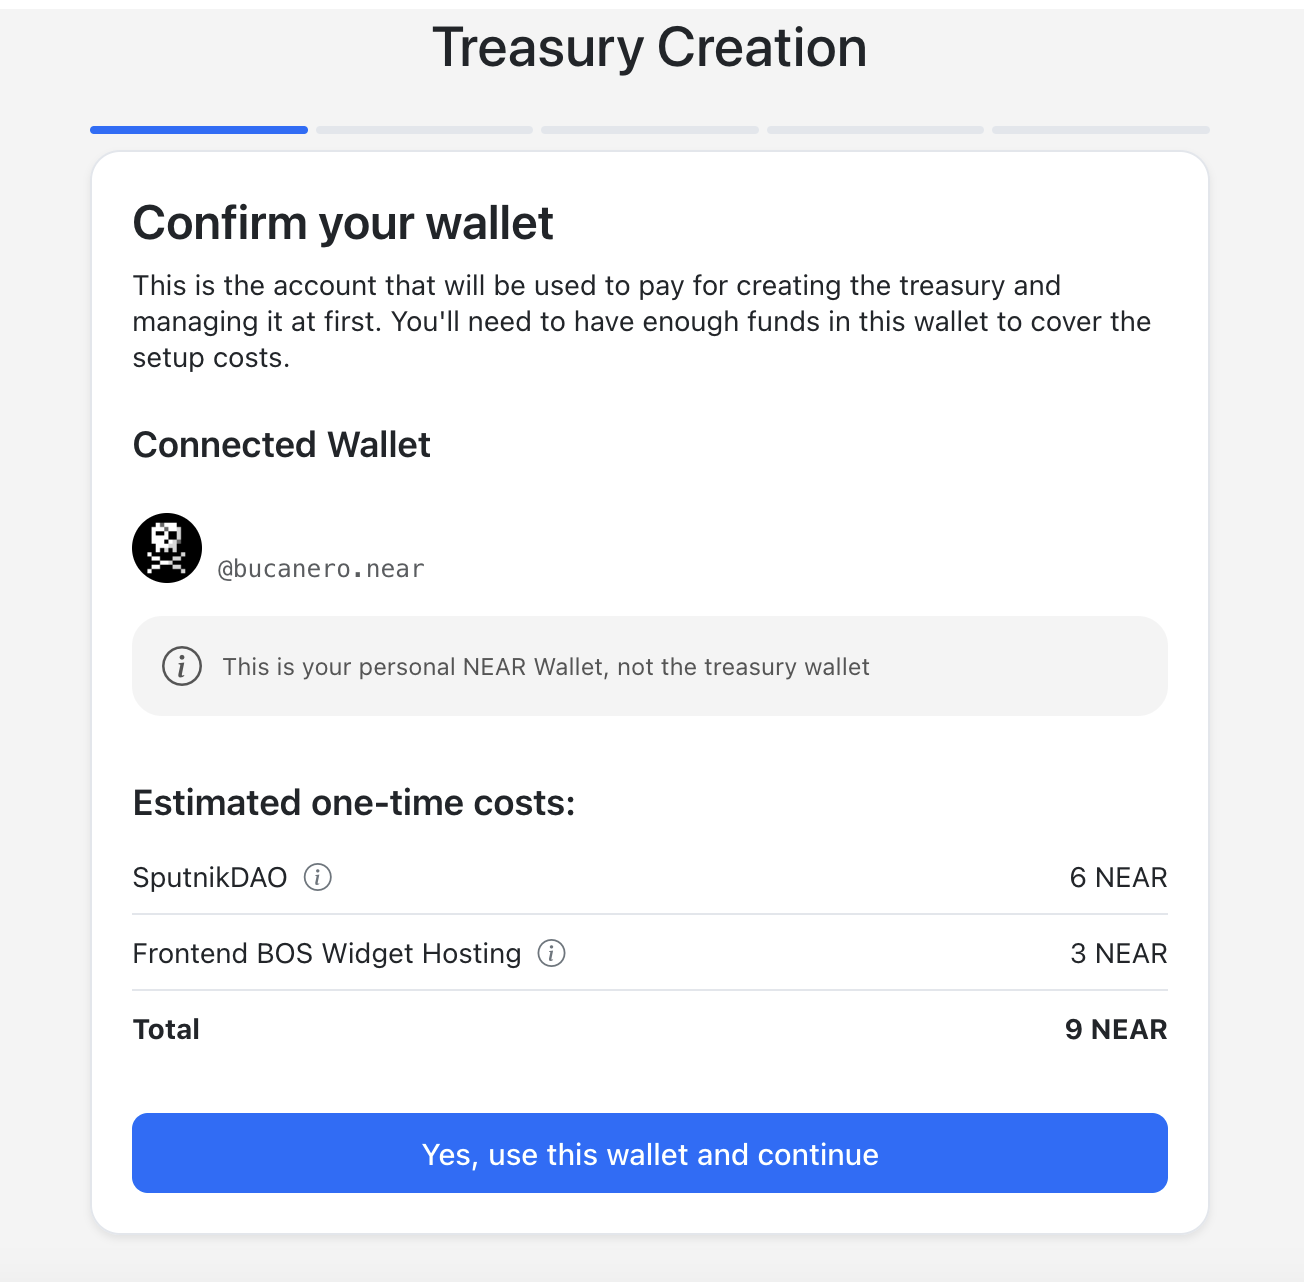
Confirm your wallet.
- This is the account that will be used to pay for creating the treasury and will be your initial administrator account.
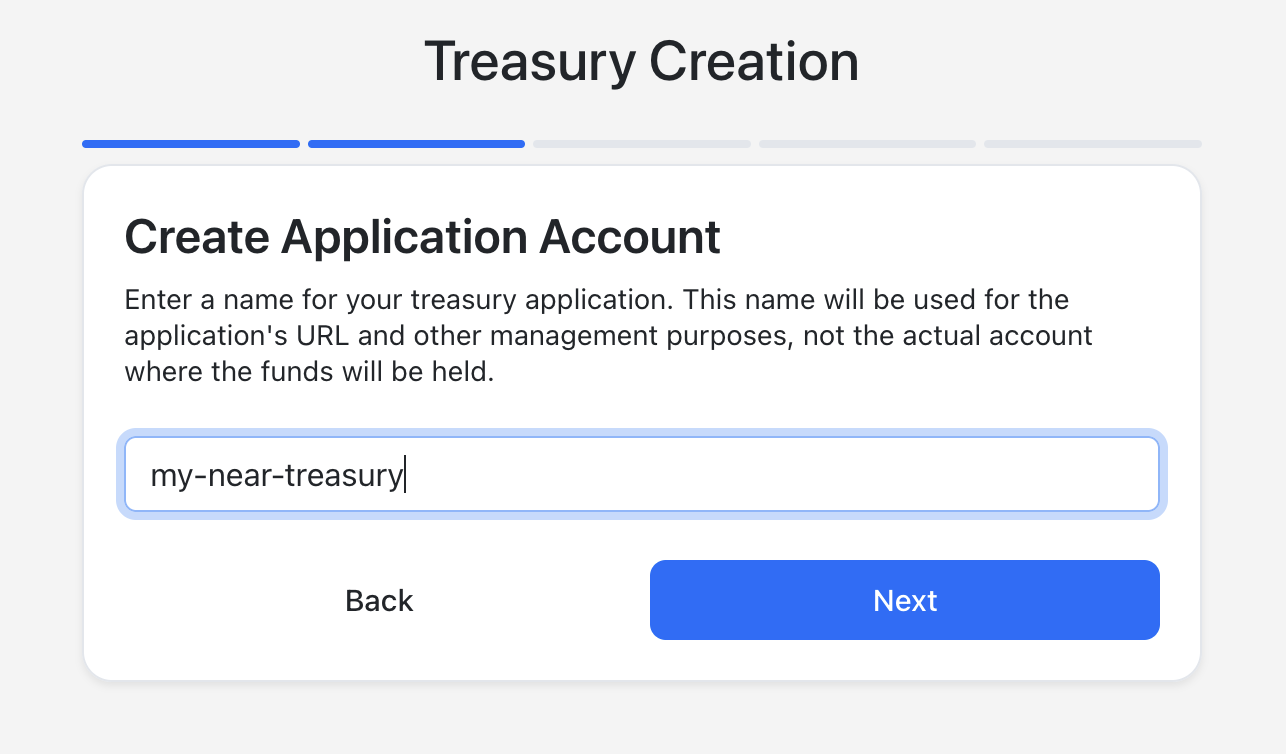
- Enter a name for your treasury application (e.g., “myteam-treasury”).
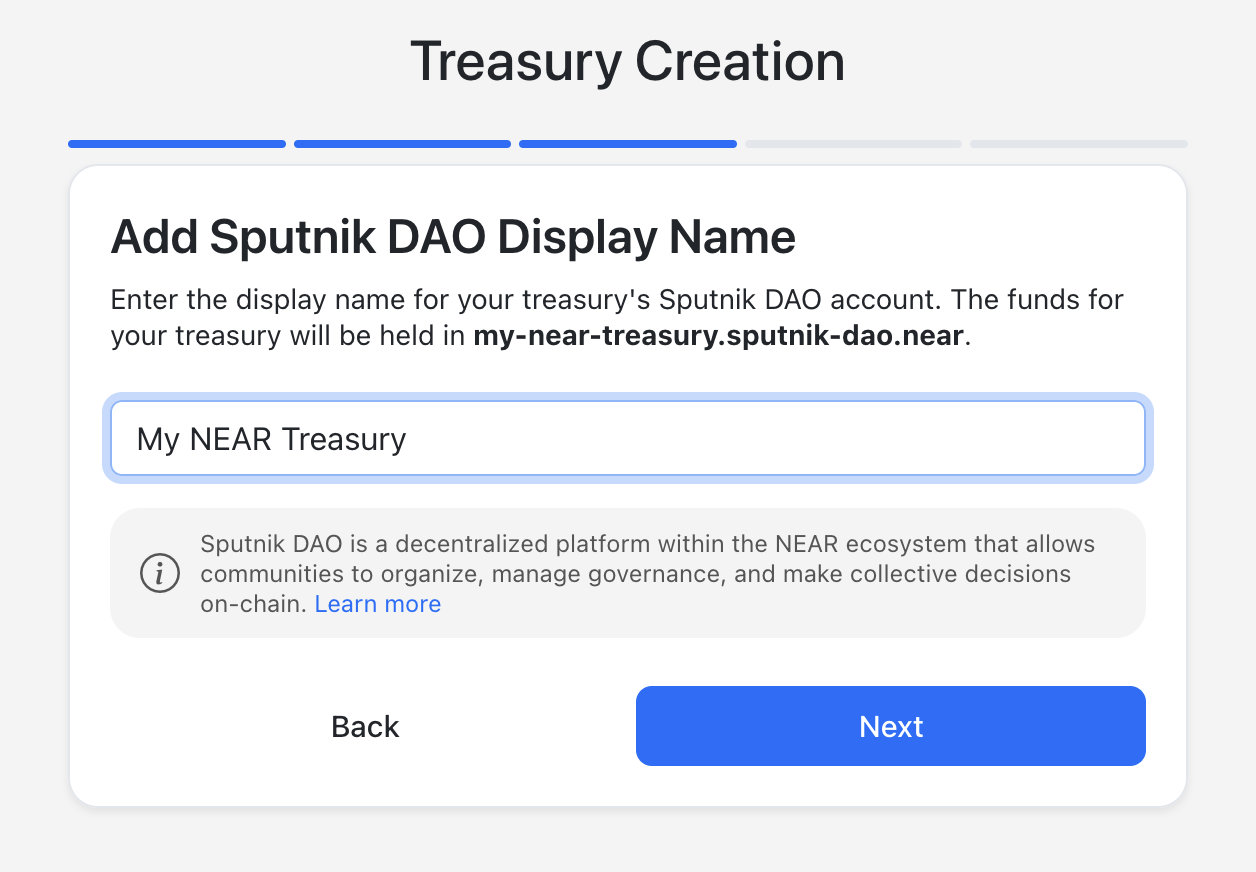
- In this step, you are creating two accounts: a NEAR Account and a SputnikDAO account.
Currently, NEAR Treasury only supports creating new SputnikDAO accounts. To import an existing account, please contact the support team.
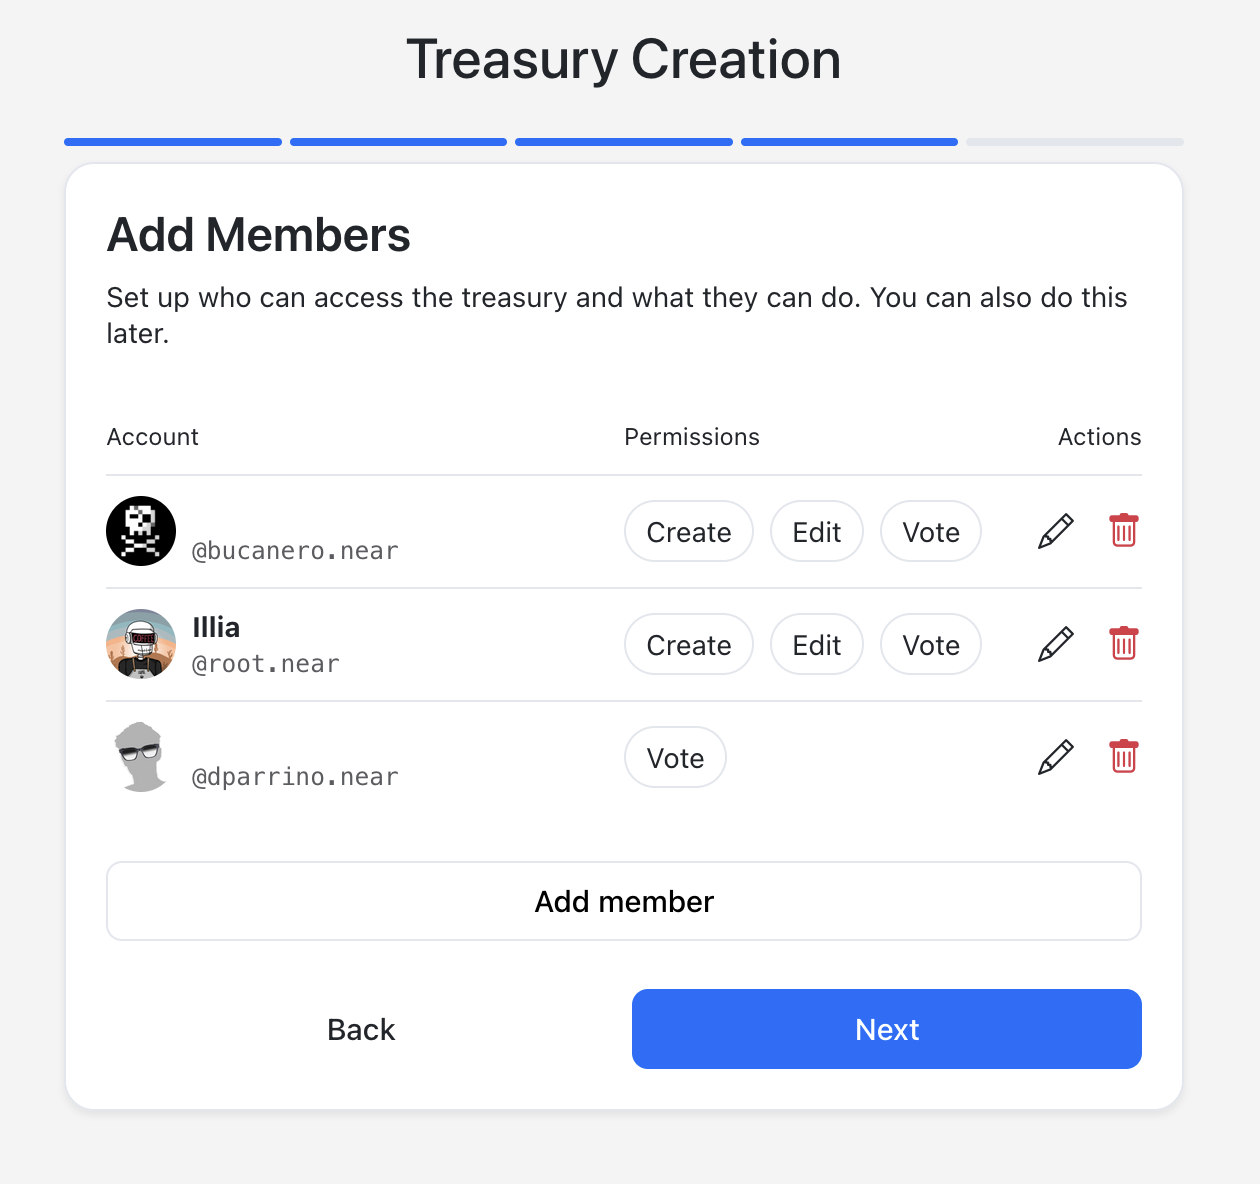
- Add members to your treasury and define their permissions (
Requester,Admin,Approver).- Refer to the Roles & Permissions for a detailed explanation of each group.
The voting thresholds policy will be set to one vote by default for all permission groups. You can modify those later in the Settings.
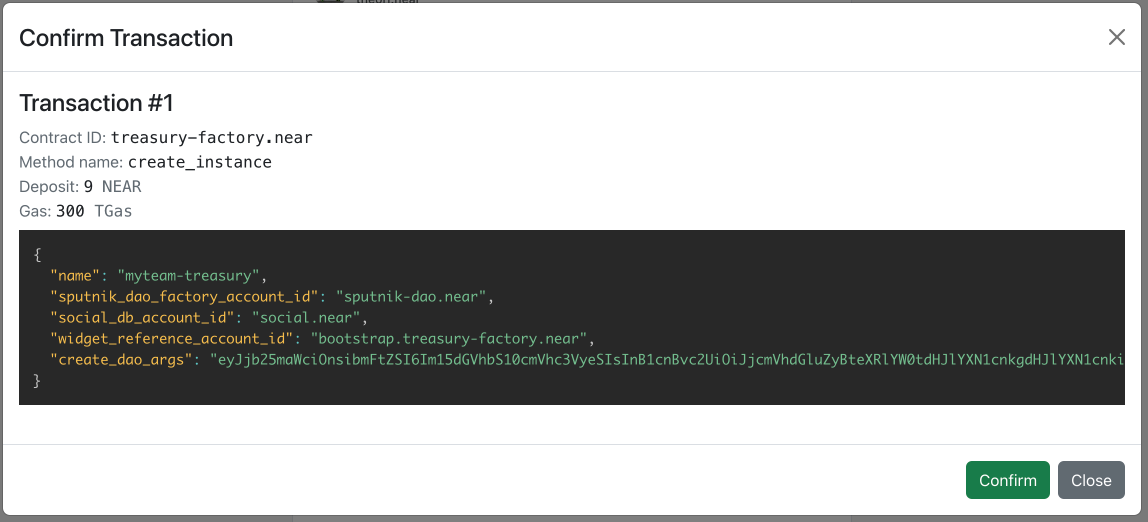
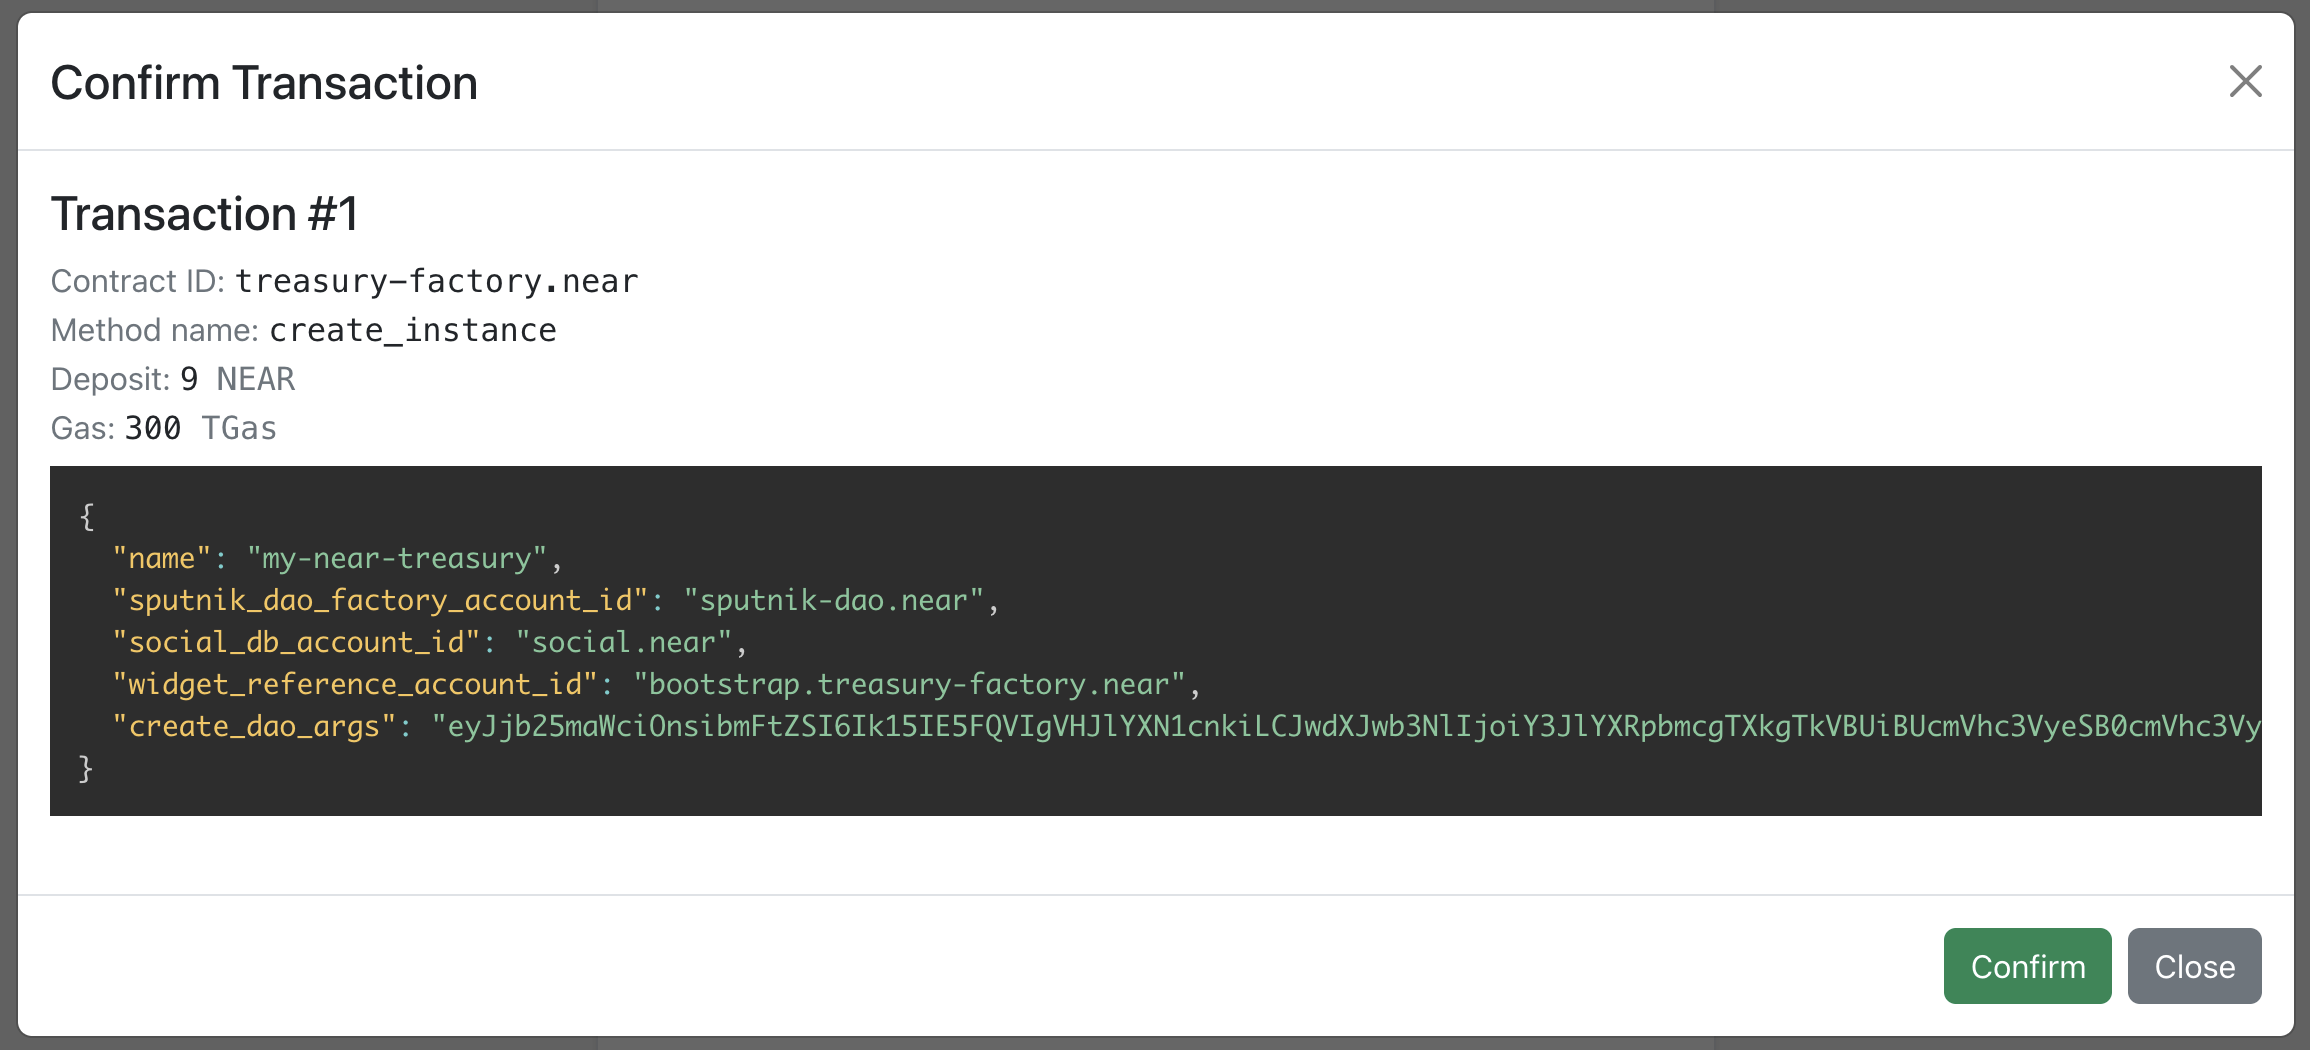
- Review the Summary and confirm your data.
- Confirm the transaction (deposit 9 NEAR). This will create the treasury and deploy the necessary contracts.
- Congratulations! Your treasury is ready. You can access and manage your treasury using multiple gateways: Web4 (Recommended), Near Social, and Dev Near.
Next steps
Now that you have your Treasury up and running, be sure to check the following articles to learn more about the available features: